PDF of EXHIBITOR App Instructions
PDF of MEMBER App Instructions
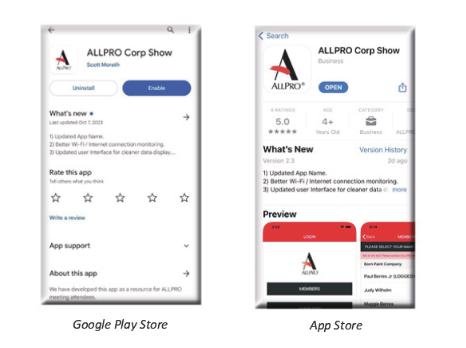
Get the app now!


Sample listing from Google Play or App Store
After starting the App, the ALLPRO Splash screen will appear.


The Login screen will then appear.
Select the registration type for Suppliers.
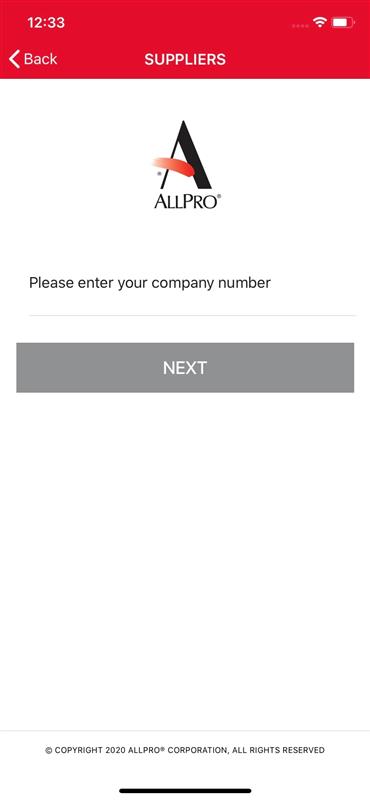
Supplier Registration
Enter your Supplier number
Example Supplier Registration
Enter your Vendor number in the text area (without the V just the number).

Select Member
Your name should appear in the list (List of all members of your company)
Click on your name to proceed
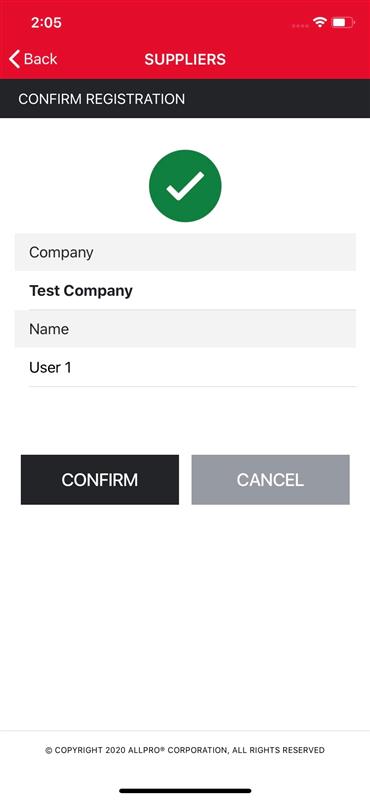
Confirm Registration in to App
Click Confirm to proceed
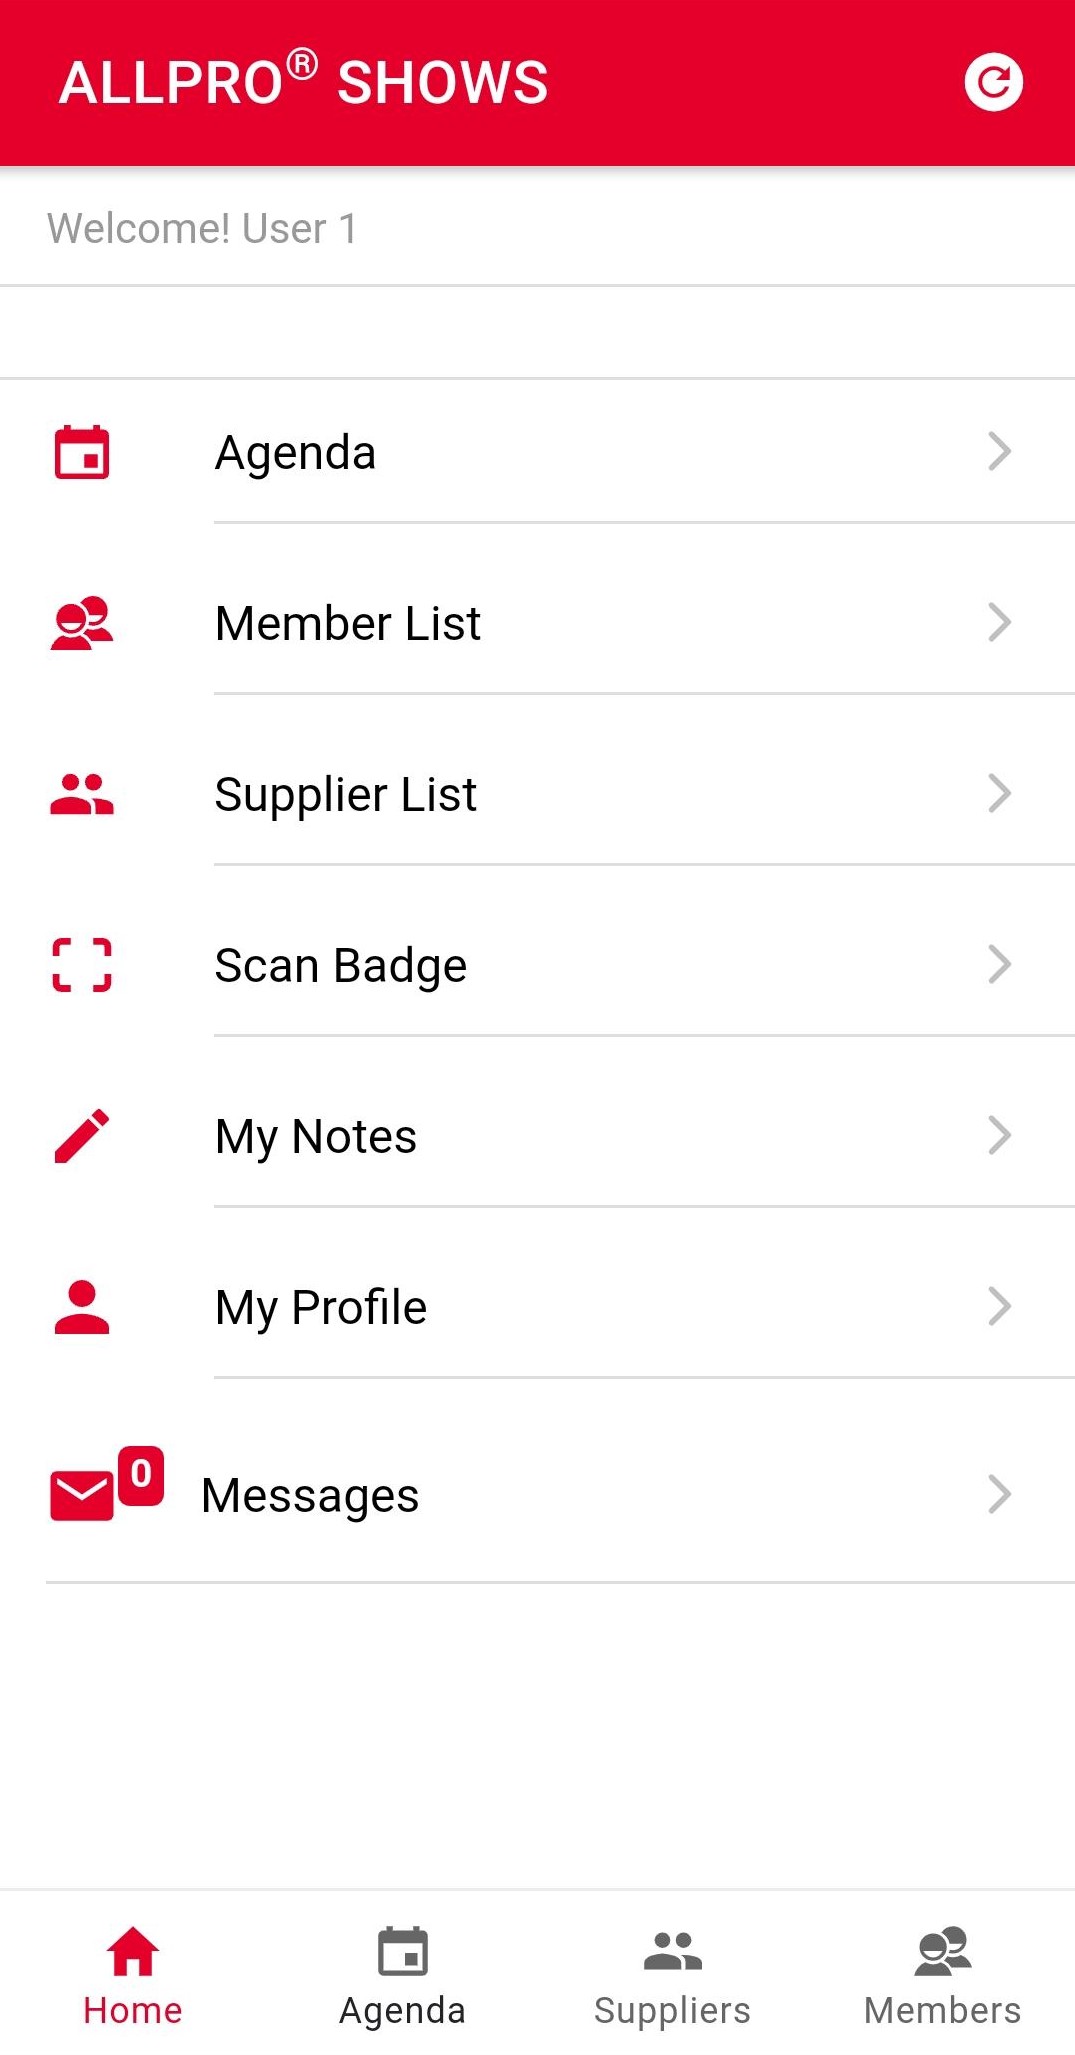
Main Menu
Agenda - Will display the show agenda.
Member List - Display all member companies and contacts.
Supplier List - Display all supplier companies and contacts.
Scan Badge- Will start the scanner used to scan member badges as they visit your booth.
My Notes- Display all notes given by you.
My Profile - Logged in user information.
Messages - Display all messages
How to Scan a Visitor's Badge
To start the Scanner, press the Scan Badge option from the main menu (as shown on screen above).
Grant permission to camera.
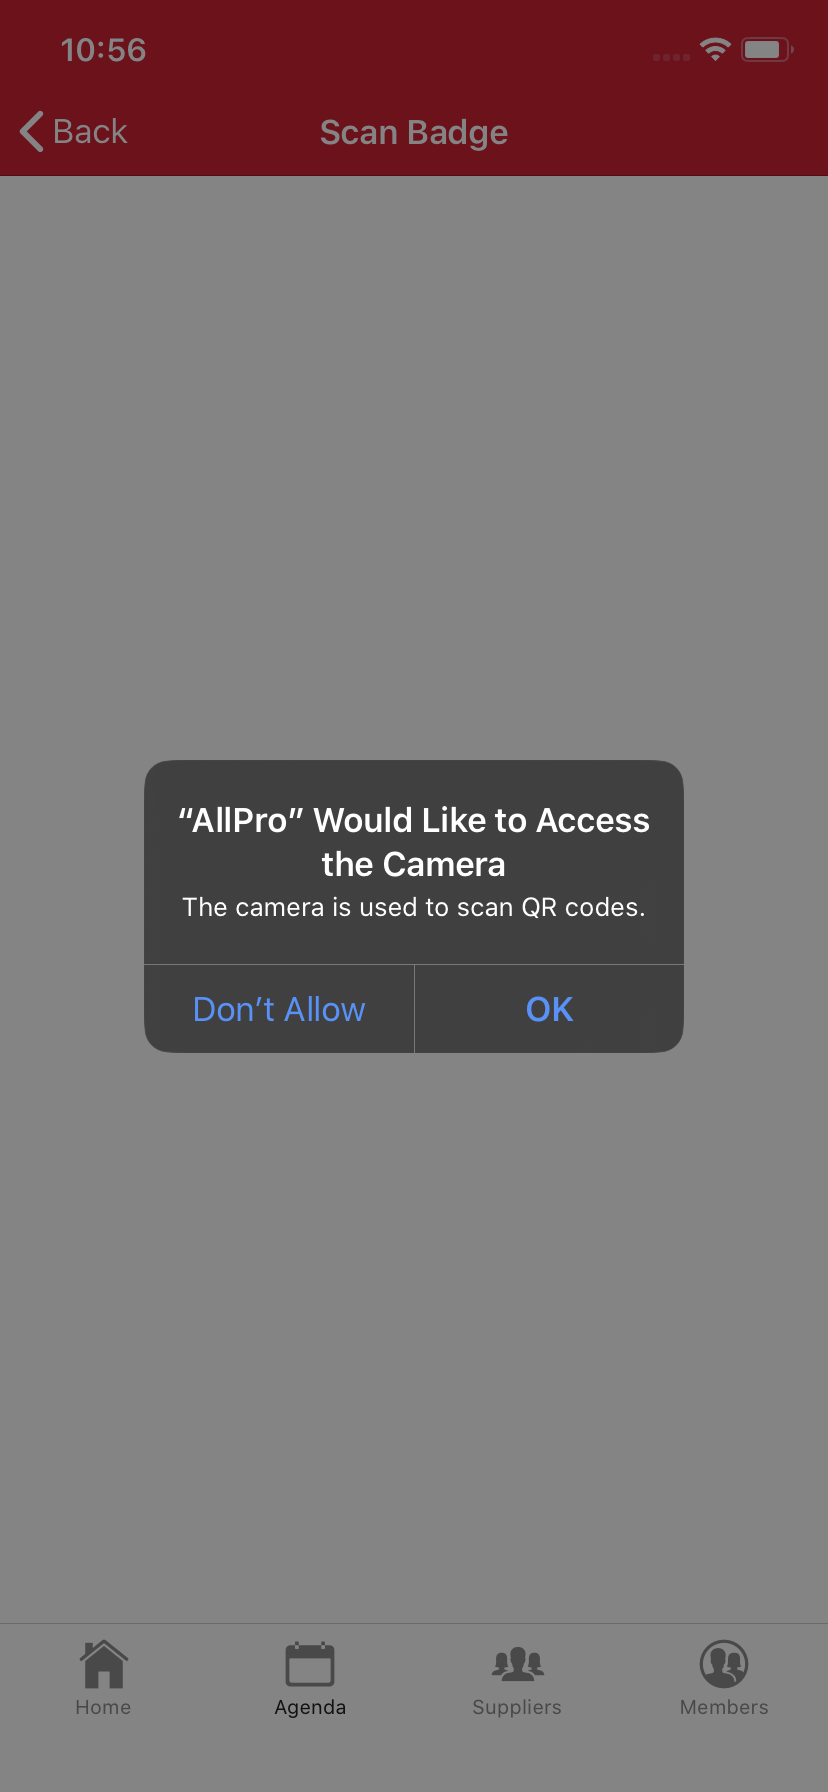
Sample Scan Screen
The Scanner will start as shown here.
Next point the camera at the badge QR Bar Code listed on the members Badge (sample Badge Below).

Sample Member Badge
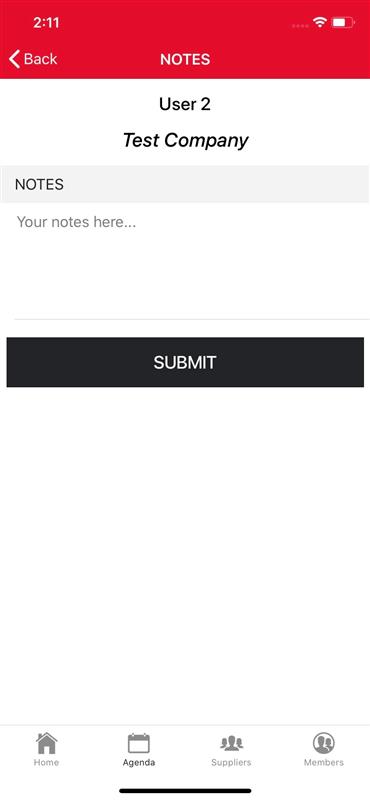
Once the badge is scanned, the Members name and Company name will appear as shown with the sample screen.
If you are done scanning and don't need to add any notes about this person, simply hit Submit to save the scan.
Adding Optional Notes
To add notes about this person, type or dictate notes about the member and their needs in the textarea.
Once you are done entering a note, Submit Button to save your notes and scan.
Once the badge is scanned, if the logged member vendor is a spiff vendor then the screen will appear as shown with the sample screen.
If you are done scanning and don't need to add any notes about this person, simply hit Submit to save the scan.
Adding Spiff Notes
To add notes about this person along with spiff sale indication, type or dictate notes about the member and their needs in the textarea and check the spiff sale checkbox
Once you are done entering a note, Submit Button to save your notes and scan.
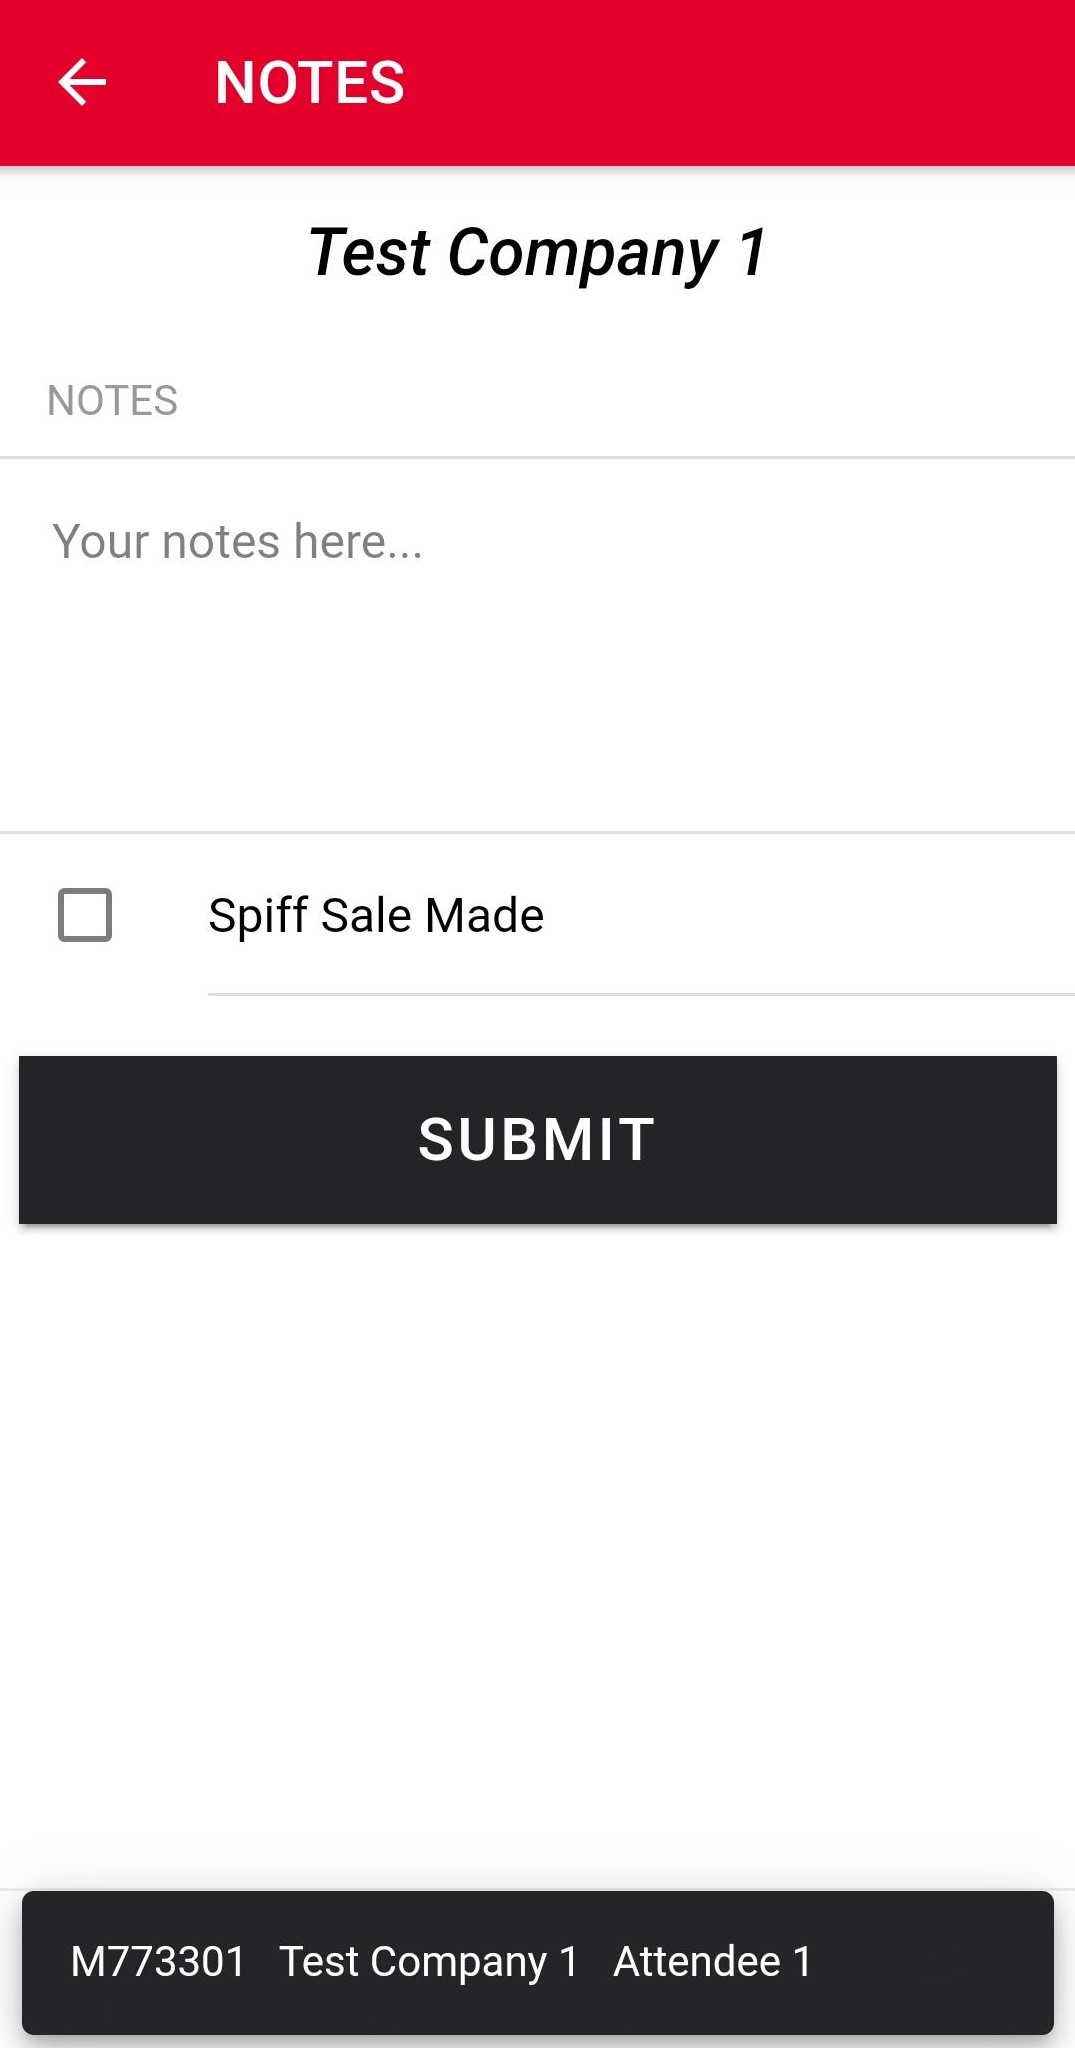
If you are not interested to make spiff sale even though you are logged in as a spiff vendor, simply leave the spiff sale checkbox as unchecked and proceed with typing the notes and submit
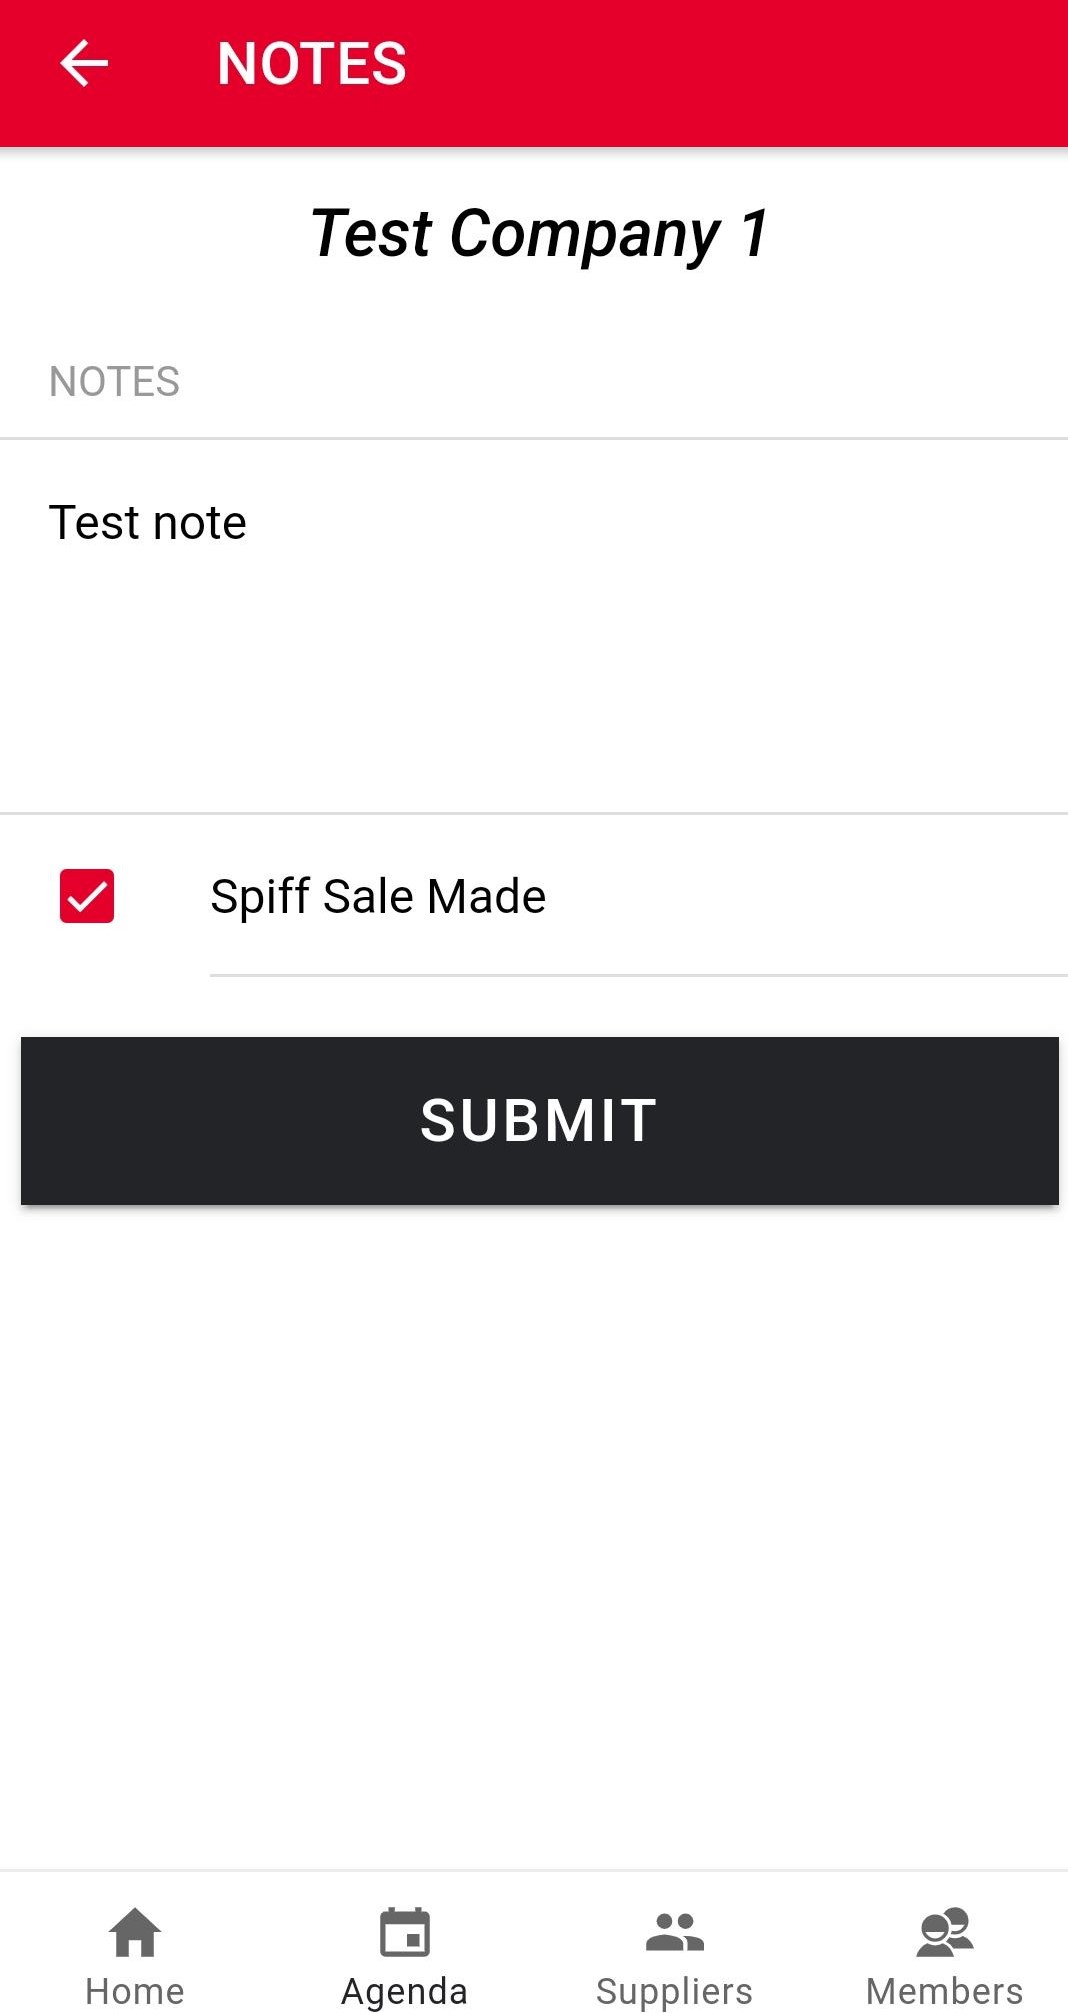
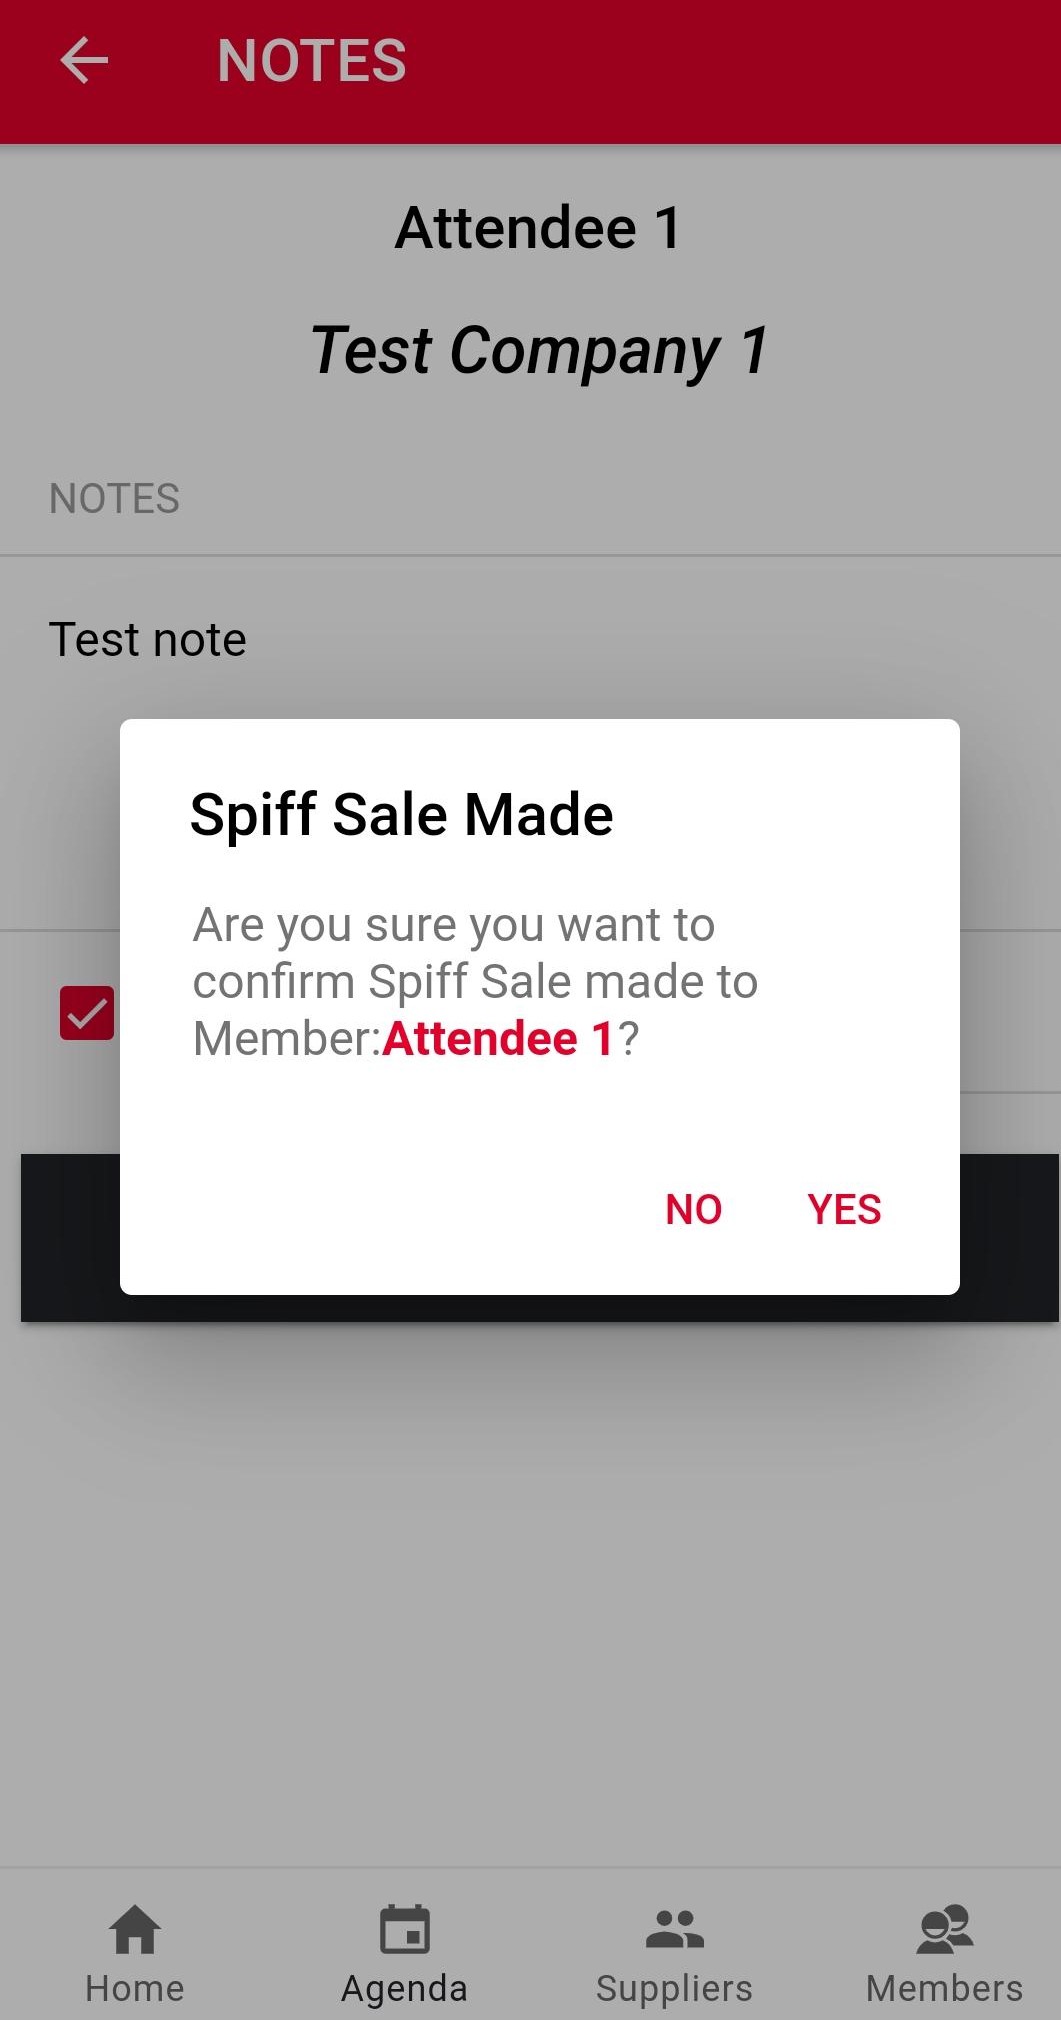
If Spiff sale is made along with notes then the screen will look like this
Scan Data Online
Scans are saved in real time into your account area on the Show website.
You will be able to access your scan data on the website and export the report to an Excel sheet if needed.
To see your scan report:
Go to ALLPROSHOW.COM
Click on the Contacts Report button.
Enter your Vendor Number (Include the leading V):
Enter your Vendor Email:
Next a list of your scans will appear with an option at the top of the screen to export the report as an Excel Sheet.
Go to ALLPROSHOW.COM
Go to https://allproshow.com/Home/ContactsReport
Enter your Vendor number
Once the report appears on the screen you will have the option to save out the scan report to Excel by pressing the Download as Excel button.
To load the excel report, double click on the file when done.
Note: Due to the format of the excel format, some PCs may display a warning message stating that "The file format and extension of 'vendor_contacts_report...' (each file name will have different information after the _report part of the file name). Do you want to open it anyway?
Simply reply "Yes" to the question and your excel file will load.
You can then edit the excel file, update your notes etc. as needed. Note that any changes you make to the excel file will not be reflected in the base scan data online.